

Introduction
Ever admired those perfectly stitched embroidery pieces where every thread lies flawlessly and the design pops with dimension? The secret isn't just in the stitching—it starts long before the needle touches fabric. Professional digitized embroidery designs are the invisible foundation that separates hobbyist work from gallery-quality pieces.
Digitizing transforms artwork into a language your embroidery machine understands, determining everything from stitch direction to thread tension. While anyone can stitch a design, true craftsmanship begins with quality digitizing. In this guide, you'll learn:
-
How professional digitizing differs from amateur conversions
-
The hidden elements that make designs stitch beautifully
-
Where to find exceptional digitized patterns
-
How to spot (and avoid) poorly digitized designs
-
Techniques to get pro-level results with your machine
Whether you're personalizing gifts, creating wearable art, or building an embroidery business, understanding digitized designs will elevate your work to new levels.
What Makes Digitized Embroidery Designs Different?
Beyond Basic Conversion
Unlike simple file conversions, professional digitizing involves:
-
Stitch Engineering
-
Mapping optimal stitch paths to prevent thread breaks
-
Balancing density for different fabric types
-
Planning color change sequences
-
-
Fabric Intelligence
-
Adjustments for stretchy vs. stiff materials
-
Special settings for challenging fabrics like towels or denim
-
-
Visual Artistry
-
Creating dimension with stitch direction
-
Mimicking brush strokes in thread
-
Preserving delicate details
-
The Harsh Truth About Free Designs
Many free embroidery files suffer from:
✖ Overcrowded stitches that damage fabric
✖ Poor underlay causing puckering
✖ Jagged curves from insufficient stitch points
The Anatomy of a Perfectly Digitized Design
1. Smart Stitch Types
-
Satin Stitches: For smooth borders (ideal width: 2-7mm)
-
Fill Stitches: Varied angles prevent fabric distortion
-
Running Stitches: Triple-stitched for durability
2. Thoughtful Underlay
-
Edge Run: Prevents outline distortion
-
Zigzag: Stabilizes satin stitches
-
Center Walk: Supports large fill areas
3. Density Done Right
| Fabric Type | Recommended Density |
|---|---|
| Cotton Twill | 4,000 stitches/cm² |
| Performance Wear | 3,200 stitches/cm² |
| Toweling | 3,500 stitches/cm² |
Where to Find Quality Digitized Designs
Top Professional Sources
-
Urban Threads
-
Artistic, contemporary designs
-
Excellent stitch detail documentation
-
-
Embroidery Library
-
Extensive licensed character collections
-
Multiple file formats included
-
-
Wilcom Design Club
-
Industry-standard quality
-
Commercial-use options
-
Red Flags in Design Marketplaces
⚠ "Works with any machine" (should be format-specific)
⚠ No fabric recommendations
⚠ Missing stitch count information
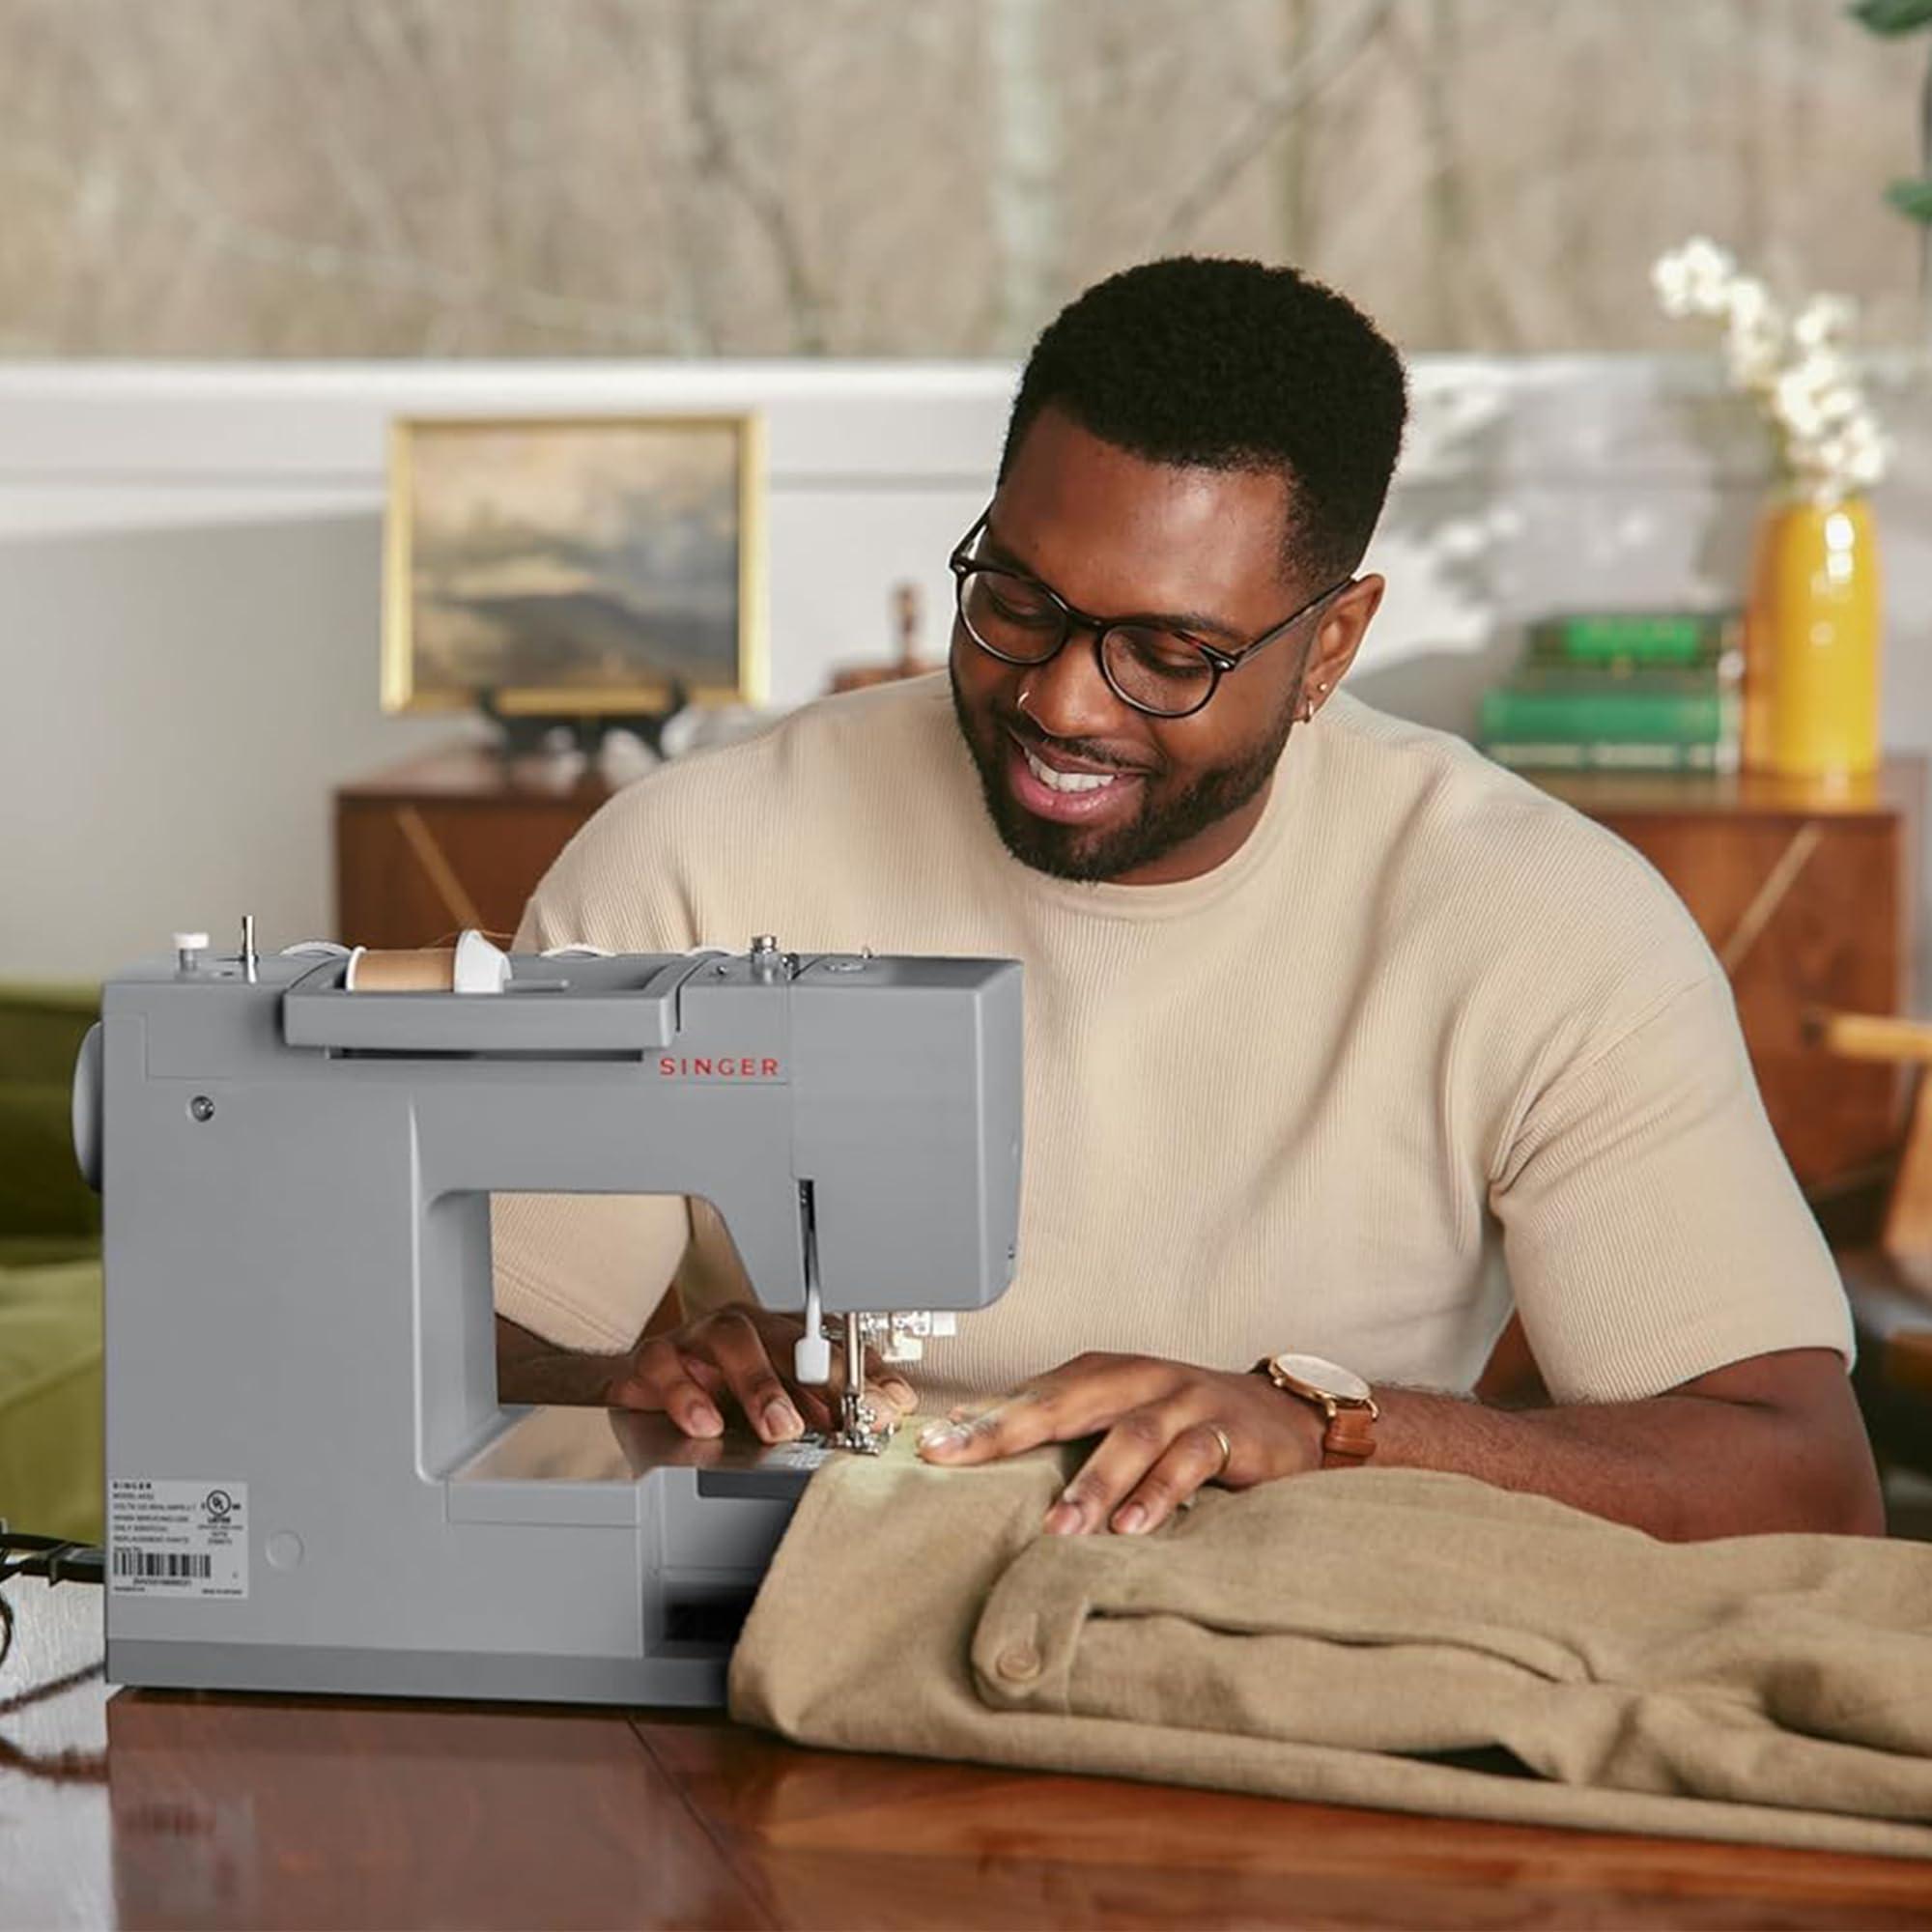
Getting Pro Results With Your Machine
1. The Magic of Hooping
-
Use stabilizer appropriate for fabric weight
-
Maintain even tension without overstretching
2. Thread Choices Matter
-
Polyester for durability
-
Rayon for sheen
-
Cotton for vintage looks
3. Machine Settings Adjustments
-
Reduce speed for delicate designs
-
Adjust tension when switching fabric types
DIY Digitizing: When It Works (And When It Doesn't)
Worth Trying When:
✔ You have simple geometric designs
✔ You enjoy technical learning curves
✔ Making personal gifts
Better to Buy When:
➔ Working with complex artwork
➔ Stitching commercial products
➔ Using expensive materials
Popular Software Options:
-
Beginner: Embrilliance Essentials ($99)
-
Professional: Wilcom Hatch ($1,200+)
Transforming Cheap Designs Into Better Results
Salvage Techniques
-
Reduce Density
-
Lower stitch count by 10-15%
-
-
Add Stabilizer
-
Extra layer of cutaway for problem fabrics
-
-
Stitch Order Editing
-
Re-sequence colors to minimize jumps
-
The Future of Digitized Embroidery
Emerging Trends
-
3D Puff 2.0: Variable height dimension
-
Eco-Digitizing: Minimizing thread waste
-
Smart Designs: Files that auto-adjust to fabric
Conclusion
Professional digitized embroidery designs are the unsung heroes behind every stunning stitched piece. By understanding what makes quality digitizing different and learning how to work with (or improve) existing designs, you can achieve:
✅ Crisper details that hold up over time
✅ Fewer thread breaks and re-dos
✅ More professional finished products
Your Next Steps:
-
Audit your design library - remove poor quality files
-
Invest in 2-3 premium designs to experience the difference
-
Practice with different stabilizer/fabric combinations
Remember: Great stitching starts long before you thread your needle. Choose your designs as carefully as your fabrics, and watch your embroidery transform from craft to art.